
Introduction: Why Don’t My Photos Look Like a Professional’s?
“Same place, same time… why do my photos look flat while others post stunning shots?”
You’re not alone — millions ask this question daily.
The truth is, mastering photography doesn’t require expensive gear or complex settings. It’s about understanding light, composition, and editing flow.
In this guide, you’ll discover 10 essential master photography techniques to transform your ordinary shots into professional-looking images — all achievable with your current camera or smartphone.
Part 1. Master the Basics Before Shooting
1. Natural Light: Your Best and Free Lighting Source
Photography is, at its core, the art of light.
You can dramatically change the mood and depth of your photo simply by shifting where the light hits your subject.
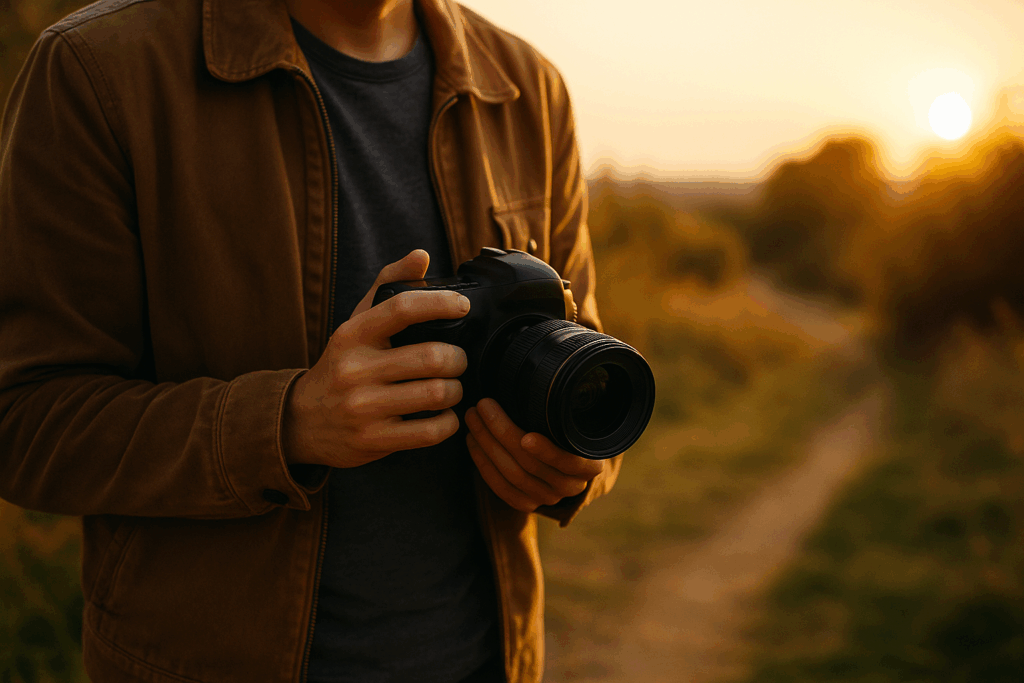
- Golden Hour: (1 hour after sunrise / before sunset) – warm, flattering light for portraits and landscapes.
- Backlighting: light behind the subject for dreamy silhouettes or glowing edges.
- Side Lighting: creates contrast and texture, great for portraits or architecture.
Mastering natural light is the fastest way to elevate your photography.
2. The Secret of Stunning Composition
Most people know the rule of thirds — but professionals use more than that.
Try these composition enhancers:
- Leading Lines: Roads, rivers, or fences that guide the viewer’s eye.
- Framing: Use windows, arches, or tree branches to add storytelling and depth.
These techniques instantly add cinematic dimension and professional balance.
3. How to Avoid Blurry Shots
Blurry photos ruin great moments. Keep your camera steady:
- Use both hands and keep elbows close to your body.
- Lean against a wall for stability.
- Hold your breath when pressing the shutter.
In low light, follow this rule:
Minimum shutter speed = 1 / focal length.
For example, 50mm lens → 1/50s or faster.
Part 2. Make the Most of Your Camera
4. Smartphone Photography: Unlock Pro Mode
Today’s smartphones rival DSLRs if you know how to use manual settings.
- Exposure (EV): Brighten or darken your image manually.
- Manual Focus (MF): Blur backgrounds for portraits or highlight close details.
Once you master Pro Mode, your smartphone becomes a professional tool in your pocket.
5. DSLR & Mirrorless Photography: The Exposure Triangle
If you shoot with a DSLR or mirrorless camera, understand these three pillars:
- Aperture (f-stop): Controls background blur.
- Low f/1.8 = creamy background (portraits).
- High f/16 = sharp focus (landscapes).
- Shutter Speed: Controls motion.
- Fast (1/1000s) = freezes movement.
- Slow (1/15s) = artistic light trails.
- ISO: Brightens in low light but adds grain if too high.
Balancing these gives you creative control over every photo.
6. White Balance: Set the Mood with Color
White Balance shapes the atmosphere of your shot.
Presets like Daylight, Cloudy, or Tungsten correct color automatically.
For creativity, use Kelvin (K) to control tone manually:
- Warm tones (5000–6500K): cozy, golden look.
- Cool tones (3000–4000K): moody, cinematic vibe.
Part 3. Editing Magic: Turn Photos into Masterpieces
7. Best Free Editing Apps
You don’t need Photoshop to edit like a pro.
Try these:
- Snapseed (Mobile): User-friendly yet powerful.
- Lightroom Mobile: RAW editing + color grading.
- GIMP (PC): Full-featured free editor.
Even quick edits can transform an average image into a portfolio-worthy shot.
8. Basic Editing Tools You Must Know
Every great photo passes through these adjustments:
- Brightness & Contrast: Fix exposure and add depth.
- Crop & Straighten: Improve framing.
- Highlights/Shadows: Recover lost details.
Small edits make big differences in visual balance.
9. Color Enhancements that Pop
- Saturation: Boosts all colors equally (use carefully).
- Vibrance: Enhances muted colors while protecting skin tones.
- Temperature: Warm for sunlight tones, cool for dramatic looks.
Mastering color grading gives your photos personality.
10. Final Touches: Detail & Sharpness
Selective editing creates focus and depth.
- Masking: Brighten faces or skies selectively.
- Sharpening & Texture: Add clarity, but don’t overdo it — over-sharpening creates halos.
These subtle refinements separate amateurs from professionals.
🎯 Conclusion: You Can Be a Great Photographer Too
You’ve learned how to master photography through light, composition, camera control, and thoughtful editing.
You don’t need the latest camera; you need awareness, patience, and practice.
Start today:
- Capture a photo during golden hour.
- Try manual mode or white balance adjustment.
- Edit an old picture using Snapseed or Lightroom.
Each shot teaches you something new — and one day, someone will ask you how your photos look so professional.
Your masterpiece is waiting. Go capture it.
- Add 10 Extra Years to Your Healthy Life: 3 Science-Backed Secrets to Longevity
- Boost Your Study Efficiency by 200%: Proven Learning Strategies That Actually Work
- Level Up Your Design Skills: 7 Tutorials That Will Change Everything